

Remember, I'm no health freak but I do love to eat EVERYTHING - healthy stuff included! So when I first came across this recipe, I couldn't believe you could make a crust out of cauliflower. It sounded delicious and that made me really want to make it. Healthy and yummy doesn't always collide in heavenly results.


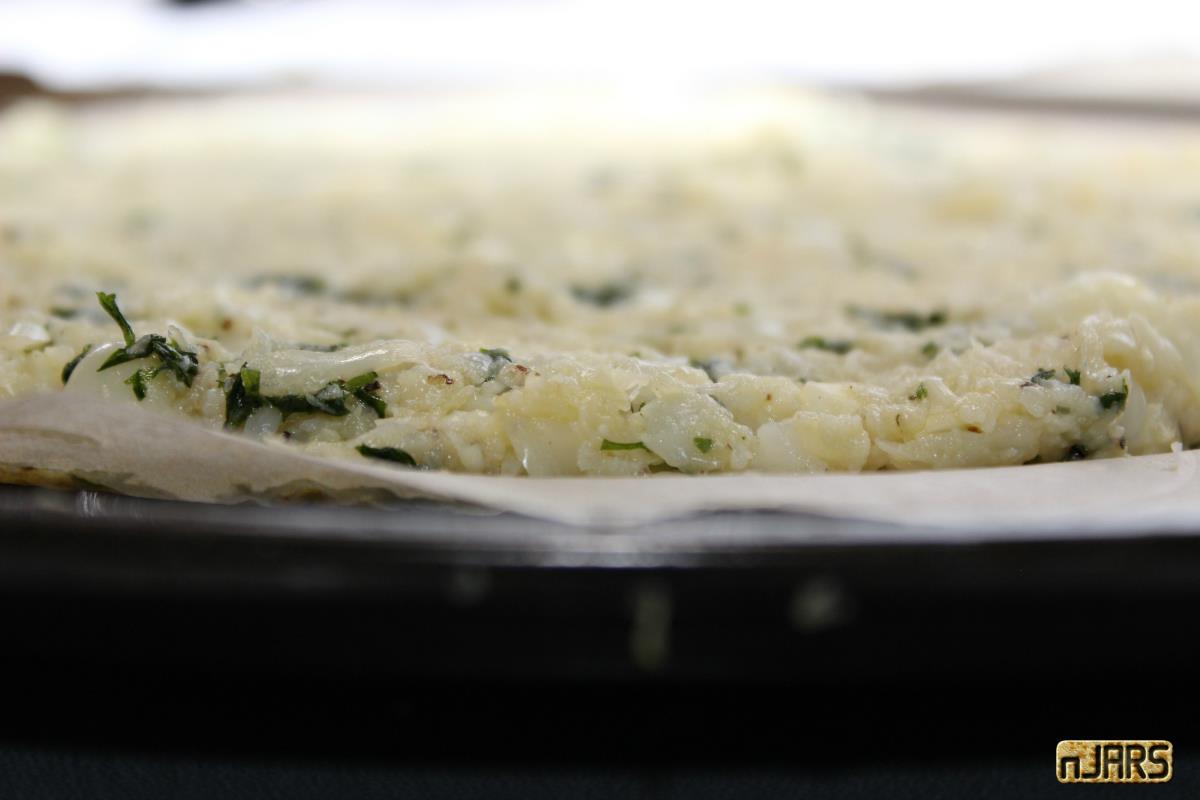
I skipped all that jazz. Instead, I broke off the cauliflower florets from the main stem, toss them all in a steam pan and steamed them for about 20 mins or so - until they were tender. And guess what? In the end, my cauliflower pizza crust turned out just fine as you can see!

Now let's get on with the recipe shall we? As usual, the original recipe is posted with my changes in "**".
The good thing about reading recipe reviews is that it saves you time (in doing unnecessary steps), and more often than not, disasters. I'm famous for disasters. Mostly because I'm impatient. But the main thing about getting this crust recipe right is STRAINING OUT THE EXCESS WATER from the cauliflower. This is an important step which was not mentioned in the original written recipe.
******************************
Recipe
Cauliflower Pizza Crust
Ingredients:
- 1/2 head CAULIFLOWER, coarsely chopped *
- 1/2 cup shredded Italian CHEESE blend
- 1/4 cup chopped fresh PARSLEY
- 1 EGG
- 1 teaspoon chopped GARLIC
- SALT and ground black PEPPER to taste
* I used an ENTIRE cauliflower!
Instructions:
- Place cauliflower pieces through the feeding tube of the food processor using the grating blade; pulse until all the cauliflower is shredded. *
- Place a steamer insert into a saucepan and fill with water to just below the bottom of the steamer. Bring water to a boil. Add cauliflower, cover, and steam until tender, about 15 minutes. Transfer cauliflower to a large bowl and refrigerate, stirring occasionally, until cooled, about 15 minutes.**
- Preheat an oven to 450 degrees F (230 degrees C). Line a baking sheet with parchment paper or a silicon mat.
- Stir Italian cheese blend, parsley, egg, garlic, salt, and pepper into cauliflower until evenly incorporated. Pour mixture onto the prepared baking sheet; press and shape into a pizza crust.
- Bake in the preheated oven until lightly browned, about 15 minutes.
* I omitted this step completely and part of step 2. I just mashed the cauliflower up with a fork once it was tender from steaming.
** After cooling the steamed cauliflower, I squeezed the hell out of it using a dish cloth to get rid of the excess liquid. Then I continued on with the rest of the steps as followed.
(Original Recipe: Cauliflower Pizza Crust)


Now eat it on its own or top it with your favourite toppings, reheat in the oven if desired, and enjoy!
****************************
More Photos!


Sharing some personal moments of me enjoying it. It was really good guys, especially after adding my favourite toppings on it! I couldn't wait to try one slice...

And then another...

Thanks for viewing and let me know if you've tried it or did it a different way!
No comments:
Post a Comment